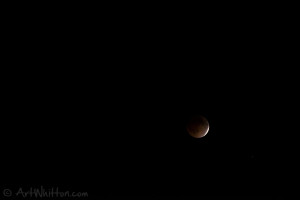
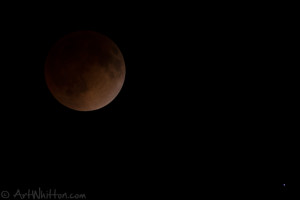
In the early hours of April 15th, 2014 we were able to witness a rare lunar eclipse on a near full moon. It peaked at about 2:00am local time. Click any image for a larger view.

Here in Chester Nebraska, the clouds were gone and it looked like a clear night, so I decided to stay up and see what I could shoot. I’ve shot the moon before, and I’ll tell you now, it’s a LOT easier when the moon is lit than when it goes dark in the earth’s shadow.
I shot this event with a Nikon D800E and a Nikkor 300mm f4 telephoto lens on a tripod. I used an electronic cable release to avoid camera shake.
First I’ll start with the challenges of shooting a lunar eclipse:
The moon gets quite dark during an eclipse. That means it’s tough to focus on and your light levels are low. You need to choose between a low shutter speed to let the light in, or a high ISO for the sensor to gather more light. Your aperture will likely be wide open. This also means that you’ll want a good tripod. My most successful image was shot at ISO 100, f4, 1/2 second.
Due to the amount of camera shake , the autofocus was not effective. I switched to manual focus and had two ways of doing this. I could look through the viewfinder and try to manually focus on a shaking moon. This didn’t really work as each time I touched the lens to focus, it moved and I couldn’t really guarantee that I was focusing correctly. I instead switched to ‘Live View’. This allows me to see the image on my camera’s LCD screen and see what the sensor is seeing. I grabbed my reading glasses, and while still dealing with the camera shake issue I was able to get it fairly close focus. A movement of less than 1/4″ turn on the barrel was enough to throw the moon out focus, so it had to be precise.

Setting the White Balance was the easiest part. I just used the default Daylight setting as the moon was reflecting daylight while it was lit by the sun. This allowed me to get a fairly accurate color when the moon moved into the earth’s shadow as well.
Everything was set – exposure, white balance and focus. I shot about two dozen images and was trying different exposures. I also had to make sure that focus was maintained and the moon didn’t move out of the viewfinder. I should have brought a chair with me!
After shooting for about 30 minutes I packed up and went inside. I felt that I had a reasonable shot or two and could crop down to get a reasonable web-sized image.
I went through the images and found that really only a few were sharp enough when viewed at 100%. I knew that some post-processing would be in order.

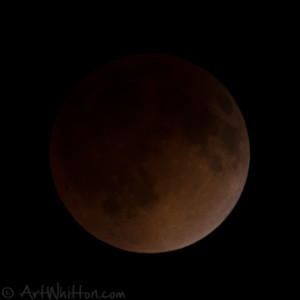
Here is the image that came out of my camera at 100% crop. It’s a decent photo, but I have some tools in Photoshop to get a little more sharpness. Here’s a tutorial from my other site that explains these tools.
These are the steps I used to adjust my image:
- Made a duplicate layer
- Crop to just moon
- Slight curves adjustment to brighten the image
- Used the Noiseware plugin to reduce noise and slightly sharpen the image, carefully avoiding a halo on the edge of the moon.
- Adding Unsharp Mask filtering for more fine tuned sharpening. This gave me a slight halo.
- Added a slight Levels adjustment to brighten the overall moon.
- Added a High Pass Filter for final sharpening.
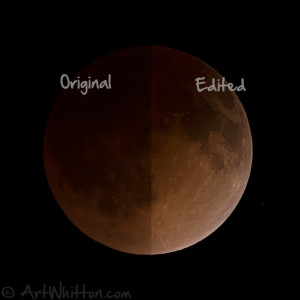
The last thing I did was to erase the slight halo that I ended up with from the sharpening. I did this on the duplicate layer so that the original image would show below to give a more natural looking edge.

This image shows the effects of editing. You can see how the edited version is sharper and brighter. I don’t normally resort to extreme measures like this, but with the issues I face last night, I found that they were needed to produce an image I was happy with.
