LARGE MURAL PROJECT
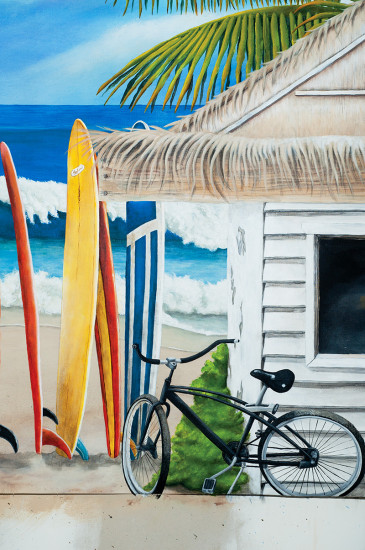
The project: Photograph a 4 foot tall by 15 foot wide mural.
The Challenge: The mural was painted on canvas in a small room – I have about 6 feet of space between the mural and the facing wall.
The Idea: Shoot a series of images and have Photoshop work it’s magic with Photomerge.
There are some other obstacles involved shooting artwork – I’ll explain this more in another post. But think about reflections and color accuracy.
I went downstairs to the room and had with me, a D300, a 50mm 1.8, a tripod and 2 SB-800 flashes. I knew beforehand that I would have to shoot multiple shots and merge them later. I put the camera to my eye and knew immediately, that “We’re gonna need a wider lens!”. Back upstairs to get a MF 24mm.
Turns out that the 24mm was a little too wide and brought in a slight amount of barrel distortion – although I could get the 4 foot height in from 6 feet away. I mounted the 50mm and decided to shoot 2 rows and HOPE that Photoshop could handle this.
The next obstacle was that I was shooting flash in the dimly lit room. I didn’t want to mix the artificial light with the flash, so now I’ll be shooting in the dark (story of my life). I called the artist down for help – she became my “lighting director” – people love titles.
This is how the shoot went down:
I would focus on the mural
Change to manual focus
Cindy would turn the lights off
Cindy would then hold the flash at the designated spot
I would shoot the image
Repeat 24 times.
It actually went fairly smooth. At this point, I honestly had no idea if it work. The images looked good when I chimped and checked histograms – but would my new computer handle the workload? I kept shooting.
Somehow I ended up with 25 images (I thought it would have been an even number). So I loaded them off my card and fired up Photoshop. If you haven’t used Photomerge before, it’s a great tool to create some larger than standard images from your file. (File > Automate > Photomerge).
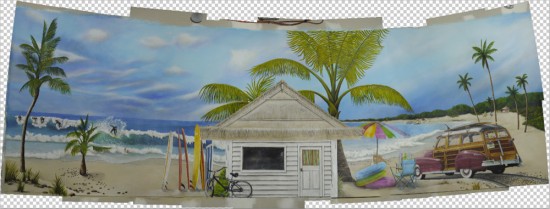
I set it up and started making dinner. I was expecting this to run all night – but it was ready in 10 minutes (I love my new computer!). This is what it came up with:
Ok, it’s a bit warped and dark. I didn’t want to overexpose the whites that are in the hut and the waves. I’m not sure about the distortion, but it could be due to not having my camera perfectly straight and parallel – and the floor not being level.
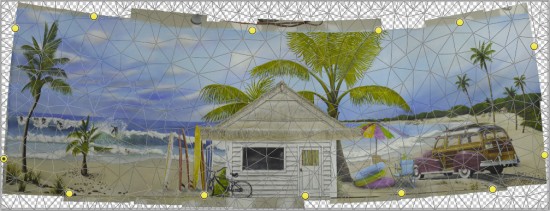
Correcting the distortion was easy – I used the Puppet Warp tool in Photoshop. This tool allows me to stick pins in the image and drag them to borders or guidelines. I was able to quickly correct the image.
So I’ve pasted some pins and now I can correct it. After some curves, the image was like the one you saw at the of the post.
I will be doing another merge that uses the RAW files so that I can get more color and clarity – I may have to end up re-shooting it to correct some minor glare and focus issues. I’ll post the final result when it’s done.
If you are interesting in seeing how this mural was painted, Click Here.
Questions? Feel free to e-mail me of leave a comment below.


I LIKE THIS ALOT….Has that panoramic feel…
Seriously…Wish I had a BIG home ..Filled with Yours and Cyndys creativities
[…] Update: See how I used this process to shoot a large 4′x14′ canvas mural – LINK […]