Over on my other site, I discuss the approach I take to creating a still life image.
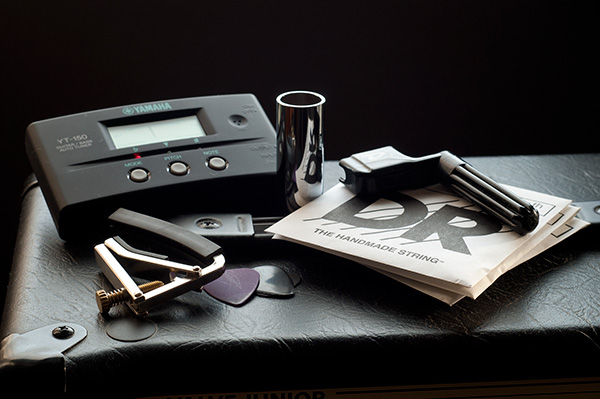
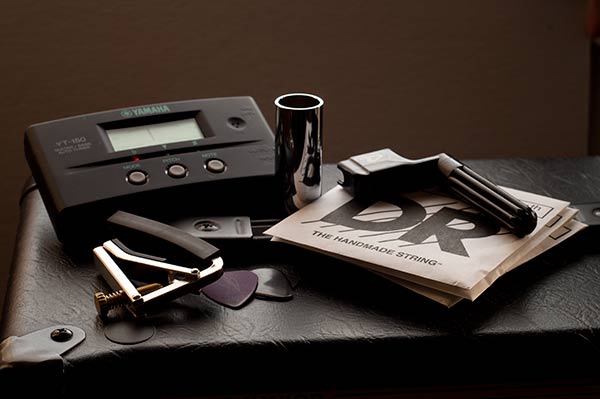
This is the image that I ended up with to use as an example:
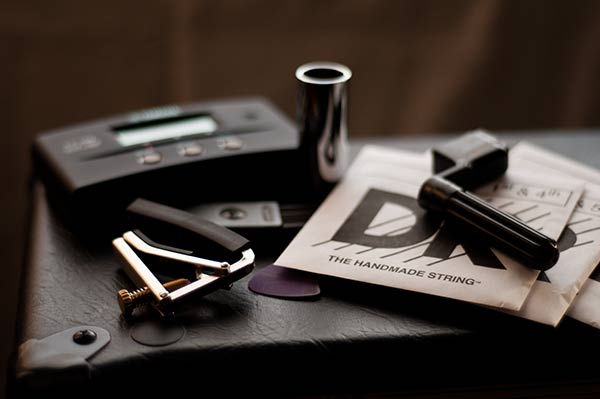
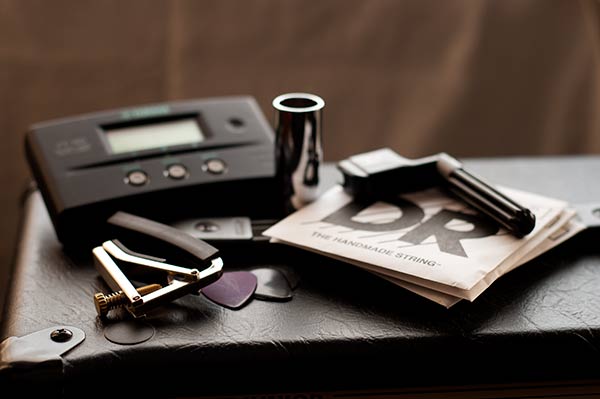
It’s a collection of items with a common theme – guitar. It might look random, but I set up a few items, arranged them in an order and then shot them. Then I shot them again, and again.
This post is about what decisions I made along the way, and how I ended up with this image.
Equipment:
- Nikon D300 with a 50mm 1.8 lens on tripod.
- Spare piece of matte board (reflector).
Lighting:
- Window with plastic covering (to keep the cold out but works as a great diffuser!)
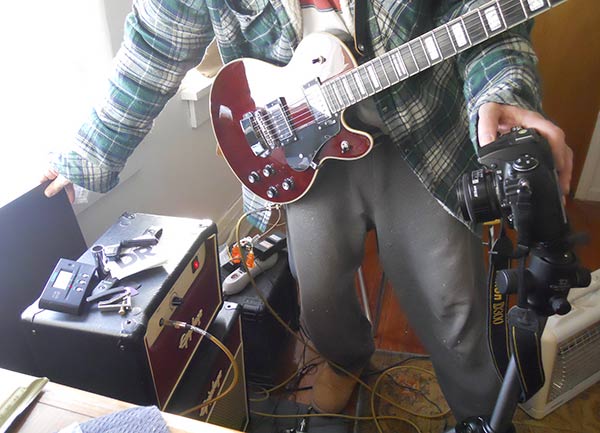
As you can see, I didn’t use any fancy equipment or studio lighting set. In fact, here’s the secret to my ‘studio’:
There I am in my grubby ‘work’ clothes. The items are sitting on the amp that I use, but have been re-arranged for composition’s sake. Yes, I know it’s glamorous, but I like to show off. I also needed the guitar to make a sound so that a light on the tuner would appear.
I also have my guitar on and plugged in because I wanted a light showing on the tuner at the back. I’m holding my reflector card – but I could have spent 30 seconds and taped in place. I could have used a remote camera release, but was too lazy to grab it.
Setup
I had decided that I wanted to shoot a still life, so I needed a subject. Since I’m a beginner guitar player (that’s my Hagstrom Swede in the photo) – I thought that some guitar accessories would be fun to shoot.
I wanted a stable and interesting surface, so I thought that I would use my amplifier head. The best part was that it was close to a window so I didn’t have to move it. An added bonus was that I have covered the windows in plastic to help keep out the cold Nebraska winter.
So now I had my inventory and my lighting. The next step was to start shooting.
The Process
I know that the items were small and that I would be close to them when shooting. I picked up my trusty 50mm f1.8 and mounted it and put my camera on the tripod. The big question was – “What is my focal point?”. I thought that the cord coming out of the amp looked neat, so I lined up my first shots.
Still Life Attempt #1 [1/100 – f1.8
This is a pretty dull shot. To get the cord and the accessories in on one shot – I needed to go vertical (portrait mode). This added a large range of exposure to the image. It also did something that I didn’t notice until I looked at the image on my monitor: I had cut the image in half! This was a no-go.
The Process – Take 2
Well that didn’t work at all – so I decided to focus on the accessories. This is how I first arranged them:
2nd Attempt [1/500 – f1.8]
Ok – now I’m getting somewhere. The challenge here is that I have a very light item (string envelope) and a very dark item (tuner). Maybe if I expose the image more and turn the tuner on, it will get more interesting?
Attempt #3 [1/400 – f1.8]
Ok – I can start to see where I’m going with this – nowhere! I better change tactics – and FAST!
The big problem is that tuner at the back – maybe if I lay it down, it will look better?
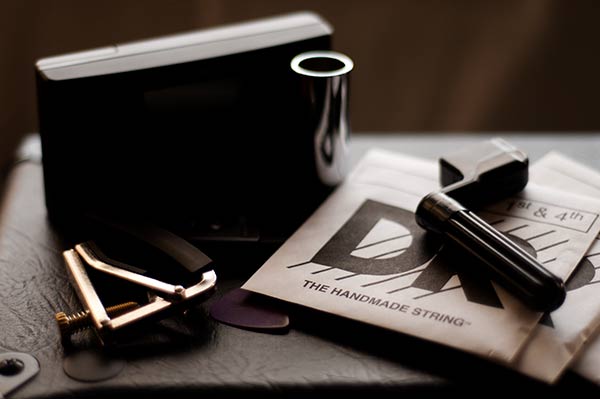
Attempt #4 [1/1000 – f1.8]
Ok – it’s a little better.
I’m going with a shallow depth of field to focus on the label on the string envelopes. F1.8 is enough to give shape to the other items, but not define them.
So I’m getting close. For all of these shots I have been holding a section of matte board up to reflect light from the window back on the objects. Maybe if I propped up the tuner so that I could see more of it.
Attempt #5 [1/200 – f2.5]
I think I’m heading in the right direction now – what if I increase the depth of field?
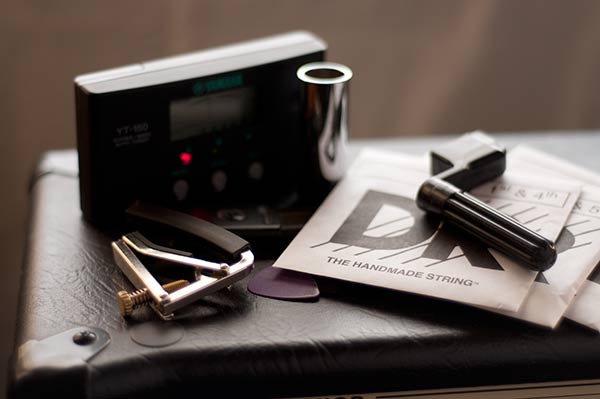
Attempt #6 [1/30 – f8]
This looks better – maybe being able to see the tuner isn’t a bad idea after all.
Now I’m thinking that the background (the white side of the matte board) can be improved. And just by turning the matte board around to show the dark grey side – I get my final image:
Final image [1/30 – f8]
This process took a while, but if I had just stuck with the first image that I composed, I wouldn’t have been happy with it. By looking at options and making small adjustments along the way, I ended up with a photo that I enjoy. Since I shoot in RAW format, I only needed to change the White Balance to Daylight, resize the image and I was done. No corrections were made otherwise.
This image was created for use on a tutorial about setting up a still life that I have posted at my other site: FreeCameraTutorials.com.
If you have any feedback about this post, please leave a comment below – or e-mail me.
